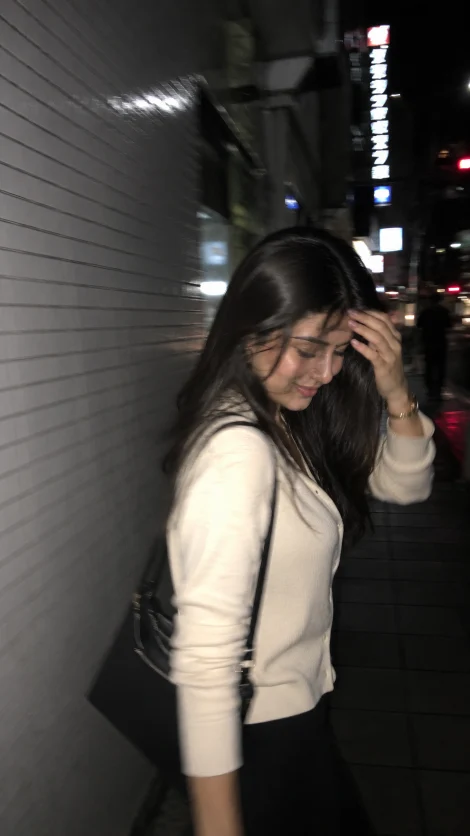
How to Generate the Best Image with This Prompt (Step-by-Step)
Using a great prompt is only half of the process. The quality of your final image also depends on how you prepare your reference photo, which AI model you use, and how you customize the prompt. Follow these steps to achieve the most realistic motion blur aesthetic photos.
Step 1: Choose an AI Model That Supports Reference Images
This prompt is designed for AI models that can understand both an uploaded image and a text prompt.
For the best results, use:
ChatGPT Image Generation
Google Gemini Image Generation
These models can analyze your reference photo while following the prompt instructions accurately.
---
Step 2: Select the Right Reference Image
Your reference image plays a major role in the final result.
For the best output:
Use a clear front-facing photo.
Keep your hairstyle fully visible.
Avoid sunglasses or face masks.
Wear the outfit style you want the AI to use as inspiration.
Choose a high-resolution image with good lighting.
Remember, this prompt uses your photo only as inspiration. It does not copy your identity.
---
Step 3: Upload Your Reference Image
Open ChatGPT or Gemini and upload your reference image first.
Wait until the upload is complete before pasting the prompt.
Uploading the image first helps the AI understand which hairstyle, clothing style, body proportions, and overall aesthetic it should follow.
---
Step 4: Copy and Paste the Entire Prompt
Copy the complete Universal Male & Female Candid Motion Blur Prompt exactly as it is.
Avoid removing sections like:
Scene
Pose & Body Language
Camera & Motion
Lighting
Background
Mood
Image Quality
Negative Prompt
Every section contributes to making the final image look realistic.
---
Step 5: Generate the Image
Click Generate and let the AI process both the uploaded image and the prompt.
During generation, the AI will recreate the entire scene based on your instructions while maintaining the overall style of your reference image.
---
Step 6: Evaluate the First Result
Don't expect perfection on the first attempt.
Professional creators usually generate multiple versions before selecting the final image.
Look for:
Natural motion blur
Realistic smartphone flash
Authentic body posture
Accidental framing
Raw smartphone quality
Natural facial expression
---
Step 7: Fine-Tune the Prompt
If the result isn't exactly what you want, make small adjustments instead of rewriting the entire prompt.
If the image looks too sharp:
Increase the motion blur.
Add stronger handheld camera shake.
Increase flash intensity.
If the blur is too heavy:
Reduce the motion blur slightly.
Keep the accidental smartphone look.
Small prompt changes often produce significantly better results.
---
Step 8: Save the Best Version
Once you're satisfied with the result, download the highest-quality version.
This style works perfectly for:
Instagram Reels covers
Instagram posts
TikTok thumbnails
Social media profile content
Aesthetic portfolios
Pro Tips for Better Results
Use a different reference photo if the first one produces inconsistent results.
Keep the hairstyle visible in your reference image.
Don't remove the Negative Prompt section.
Avoid mixing cinematic photography with smartphone photography.
Generate 3–5 versions before choosing the best one.
Make only one change at a time while experimenting with the prompt.
Preserve the overall structure of the prompt instead of rewriting random sections.
.webp)